Hello everyone! I'm here to share my tutorial on creating a matching Lori Whitlock Mandala card and box set. I absolutely love the beautiful mandalas and wanted to create a box that has that same beautiful design. I feel this would be a perfect combo to give a friend on her birthday.
I started off making the Mandala Card 3 (Lori Whitlock store or Silhouette store) as my inspiration and then started the process of making the matching box. I opened up the Favor Box Ribbon Tie Scalloped SVG (found in the Lori Whitlock store or at Silhouette) along with a mandala SVG (Lori Whitlock store or at Silhouette). I resized the mandala to fit the front cover of the favor box.
Then I highlighted both pieces...right click, scroll down until "make compound path" was selected and left click.
Now the cut should look like this and ready to cut. The center pieces of the circles will cut but I chose not to use them on my project.
Next comes creating a circle that will fit behind the mandala to mask the pattern paper.
Make sure that the circle is big enough to cover the backside of the mandala but small enough not to peek out from behind the layered box piece.
Now everything is ready to cut!
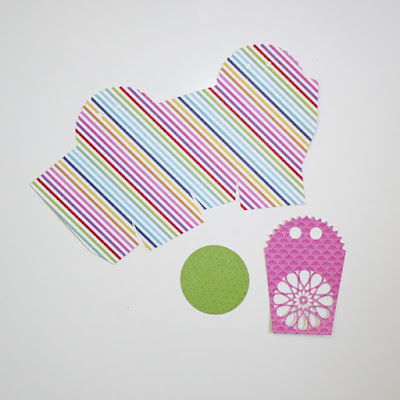
And here are all of my pieces cut out from pattern papers (with the exception of the back cover panel).
Because the mandala svg is so intricate I used a small tip glue bottle to apply adhesive.
Now that I have the green circle adhered to the panel cover I am ready to pre-fold my box and then adhere it together.
Here is my box assembled and the front panel cover adhered to the front of the box.
Decorating is the fun part and there are so many options such as sequins, gems, ribbon, etc for decorating.
Thanks for joining me today for this tutorial! I hope this gets the creative juices flowing on how you can mix and match different Lori Whitlock svg cuts to create a whole slew of projects.


No comments:
Post a Comment