Hello crafty friends and welcome to another Thursday tutorial! Today I want to give a quick little walk through on how to assemble the adorable Apron Box Card Father's Day card (Lori's SVG, Silhouette). With Father's Day right around the corner, this is a great addition to your gift to show your appreciation to Dad! You can't really tell from pictures but that "Best Dad Ever" piece on the front is a pocket which will hold a gift card to any of Dad's favorite stores.
So, let's get started making this awesome box card!
First is to gather your papers and cut out all of the pieces. That lovely red bandana print? That's from the new collection called Fun On The Farm and I thought it perfect for this card!
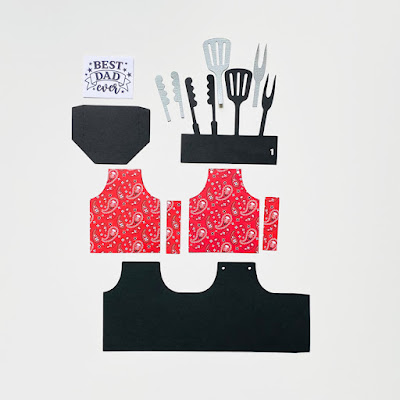
Next step is to adhere all of the extra pieces to the main pieces of the project.
Now fold on all of the perforated lines.
Adhere the pocket to the front of the card. Make sure that you adhere it to the side with the holes at the top of the apron.
Next adhere the box side tab together.
Now you will want to adhere the "tools" piece to the inside of the apron box.
And lastly, you will want to decorate your box card. I choose to add some black grosgrain ribbon to the top holes of the apron box. Now it's ready to give to Dad!
Thanks for stopping by today! Hope you enjoyed my small tutorial and give it a go...Dad will love it!