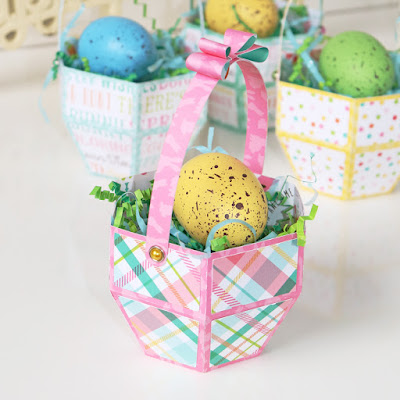
First thing to do is match up some 12x12 papers for each basket. And pull the svg file up on your cutting machine screen.
This particular svg file requires you to cut 2 of the base of the basket and the layering pieces. I cut out 2 of the handles as well. I wanted the handle to be solid colored instead of being able to see the underside of the patterned paper.
Here are the pieces of the basket that I started assembling.
Adhere the two pieces that make the base of the basket. To make it easy, I adhered the side tabs on each piece and laid them flat to make sure that both pieces were even along the top edges. Then I adhered the layered pieces and then started assembling the bottom tabs to complete the bottom part of the basket.
Adhere the two handle pieces together and lay aside to dry.
Adhere the bottom tabs of the basket to the hexagon piece to complete the base of the basket.
Attach the handle to the basket. There are holes in the handle and the basket to add a brad to attach the two together. Last thing to do is assemble the bow and adhere it to the handle.
Then you get to fill your baskets up with some Easter grass and something decorative or some sugary goodies! Add them to your Easter decor or to your Easter dinner table with a chocolate bunny.
Thanks for stopping by today! Hope you find these Easter baskets just as adorable as I do and give them a try!


No comments:
Post a Comment